Dialing In Your Commercial Espresso Grinder

Plan to invest a full bag of freshly roasted coffee learning how to dial in your grinder, but the goal of this post is to minimize waste and simplify the learning process. Also, keep in mind that your grinder should perform better after you’ve ground a few pounds of coffee through it (this is called seasoning the burrs).
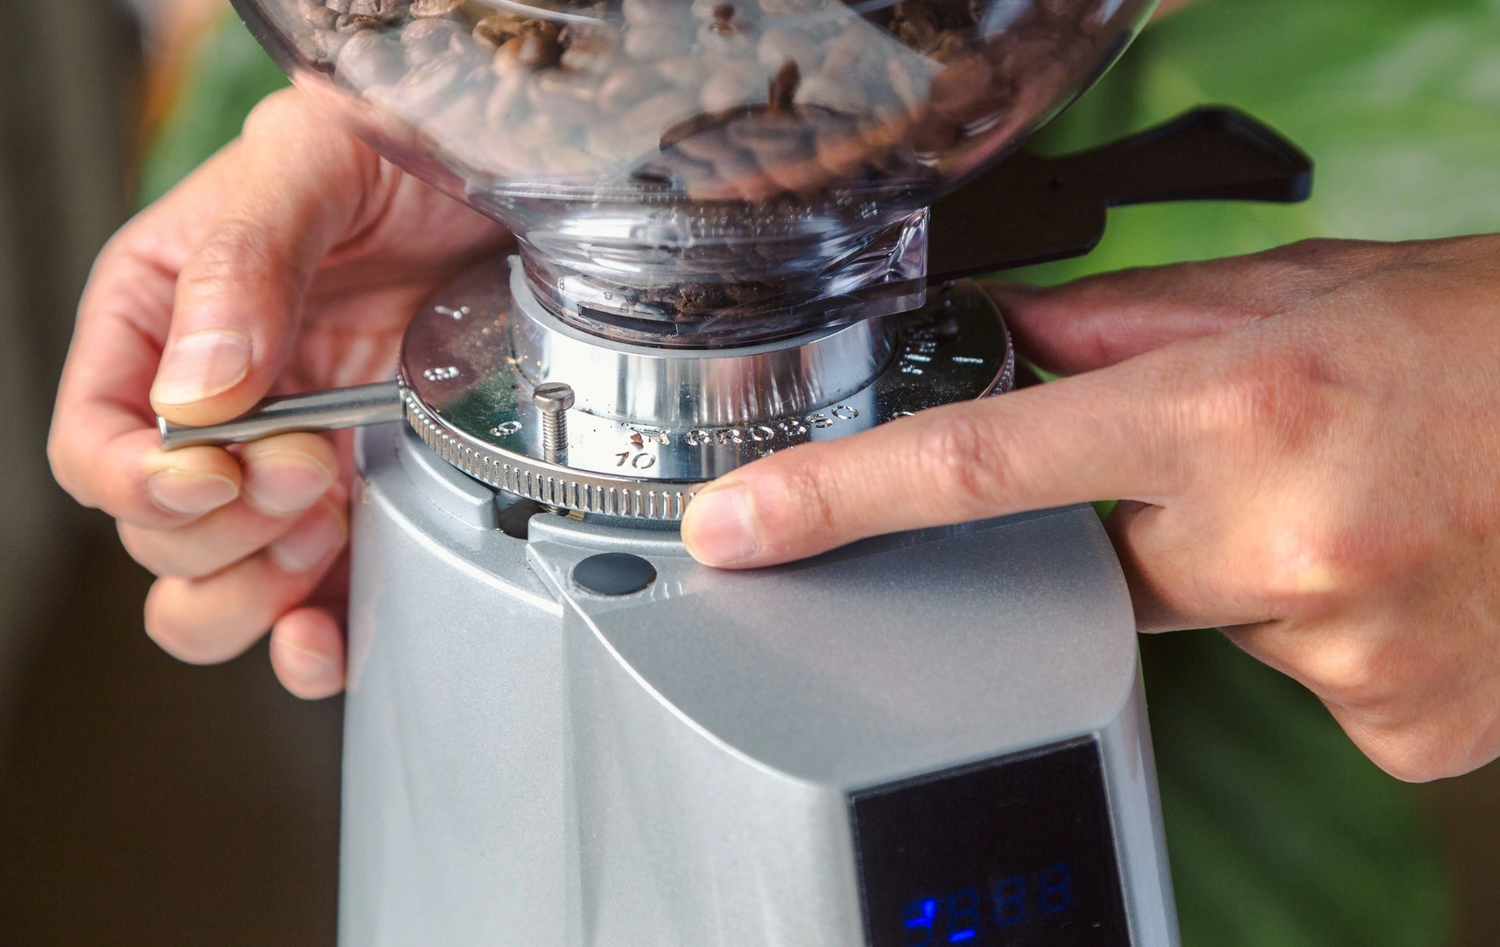
Step 1: Plug in the grinder, install the hopper, open the hopper throat

Step 2: Choosing your method of dose, eliminating the variable of quantity

Option 1 (Single Dosing): Adding the amount of beans needed for one drink at a time is called single dosing. Some grinders can do this better than others, but feel free to give it a try. Single dosing requires a finer grind than having a hopper full of beans, and it takes longer to grind the coffee because there isn’t weight in the hopper pushing the beans through. But the advantages are that beans can be stored in an airtight container (instead of going stale in the hopper), and it’s possible to switch from one coffee to another more easily. If you find that you can’t get a thick, even 25-second extraction with single dosing then your grinder may need to have a bit more weight pressing down on the coffee.
Option 2 (Weight-Based Dosing): Putting beans in the hopper and grinding by programmed time or weight (or sight) simplifies the routine a bit over single dosing. When dialling in your grinder, it’s helpful to have a scale to verify the quantity of coffee you’re grinding and a stopwatch to verify how long your shot takes. Many grinders have the option of timed grinding, and we’d recommend your first step be to set a grind time that dispenses the amount of coffee that you want in the portafilter. The grounds should form a nice mound coming slightly above the level of the basket, but not so full that your machine is left dirty (hint, inspect the shower screen and brewing area regularly to see if your routine needs adjustment). For the double espresso basket used in most spouted portafilters, we recommend 18 grams of coffee. For the triple baskets used in bottomless portafilters, we recommend 20 grams.
3. Grinding for the first time

Try your grinder’s factory setting before making an adjustment. If no grounds come out, follow the troubleshooting process below. Tare your scale (if available) with the empty portafilter on top. Set your grind time to dispense the preferred amount of coffee, or grind manually until you have the desired quantity. For programming questions, refer to your product manual or contact us. Verify your double dose has 18 grams of coffee or your triple dose 20 grams. If your dose changes by a gram or two, this can have the effect of making a big adjustment to a grind setting (shots speed up or slow down), so the scale is helpful for solidifying your routine until you feel confident.
If you activate the grinder and no grounds are being dispensed, gradually adjust the grind courser (while the grinder is running) until a stream of coffee starts to flow out.
4. Pulling your first shot

Make sure the coffee is evenly distributed in the espresso basket, as an empty spot will be easier for the pressurized water to punch a hole through (inspect the spent coffee puck for holes). Use your finger if necessary to gently sweep the coffee up, down, left and right. Make sure your tamper is level, and apply medium pressure (not too light, not too heavy). Consistency is typically more important than the exact force. Start your shot and stopwatch at the same time, and keep track of how long it takes for 1.5oz to be dispensed. The goal is a total shot time of 25-30 seconds, starting when the pump is activated. If your shot reaches 1.5oz in less than 25 seconds, it can be sour, lacking body (under extracted). If this takes more than 30 seconds, it can have an excessive body, with muddy flavors (over extracted).
5. Dialing in your grind
If your shot takes less than 25 seconds, the grind needs to be adjusted finer. If the shot takes more than 30 seconds it needs to be adjusted coarser. It’s important to make gradual adjustments, and remember that changes don’t take effect immediately (there will still be some coffee remaining inside from your last shot, that needs to be pushed through). Worm drive adjustment is very slow, so making a half rotation adjustment to the knob may seem to have no effect (so at first you may want to start by making full rotations or more). Micrometric adjustment or rotating the top collar by hand can make big changes quickly. Whichever type of grinder you have, remember that only by experimenting gradually will your grind adjustment become intuitive. Keep your scale and stopwatch handy, and keep track of how much the adjustment translates into the time of the shot. Once the shots are consistently 25-30 seconds, you should only have to make small occasional adjustments to keep them in this range.
Okay, so now you're ready to practice. This video on https://www.youtube.com/watch?v=kYJYxJ0y-Mk breaks it down really nicely. You can also print out the instructions if you want to leave them near your setup until you get it dialed.
Previous article

Next article


